User Management
This section provides a complete guide to user management within your workspace. Here, you'll learn how to add new members, edit their roles, and remove users as needed. Efficiently managing your team's access is essential for secure collaboration and control over your shared resources.
Adding Users
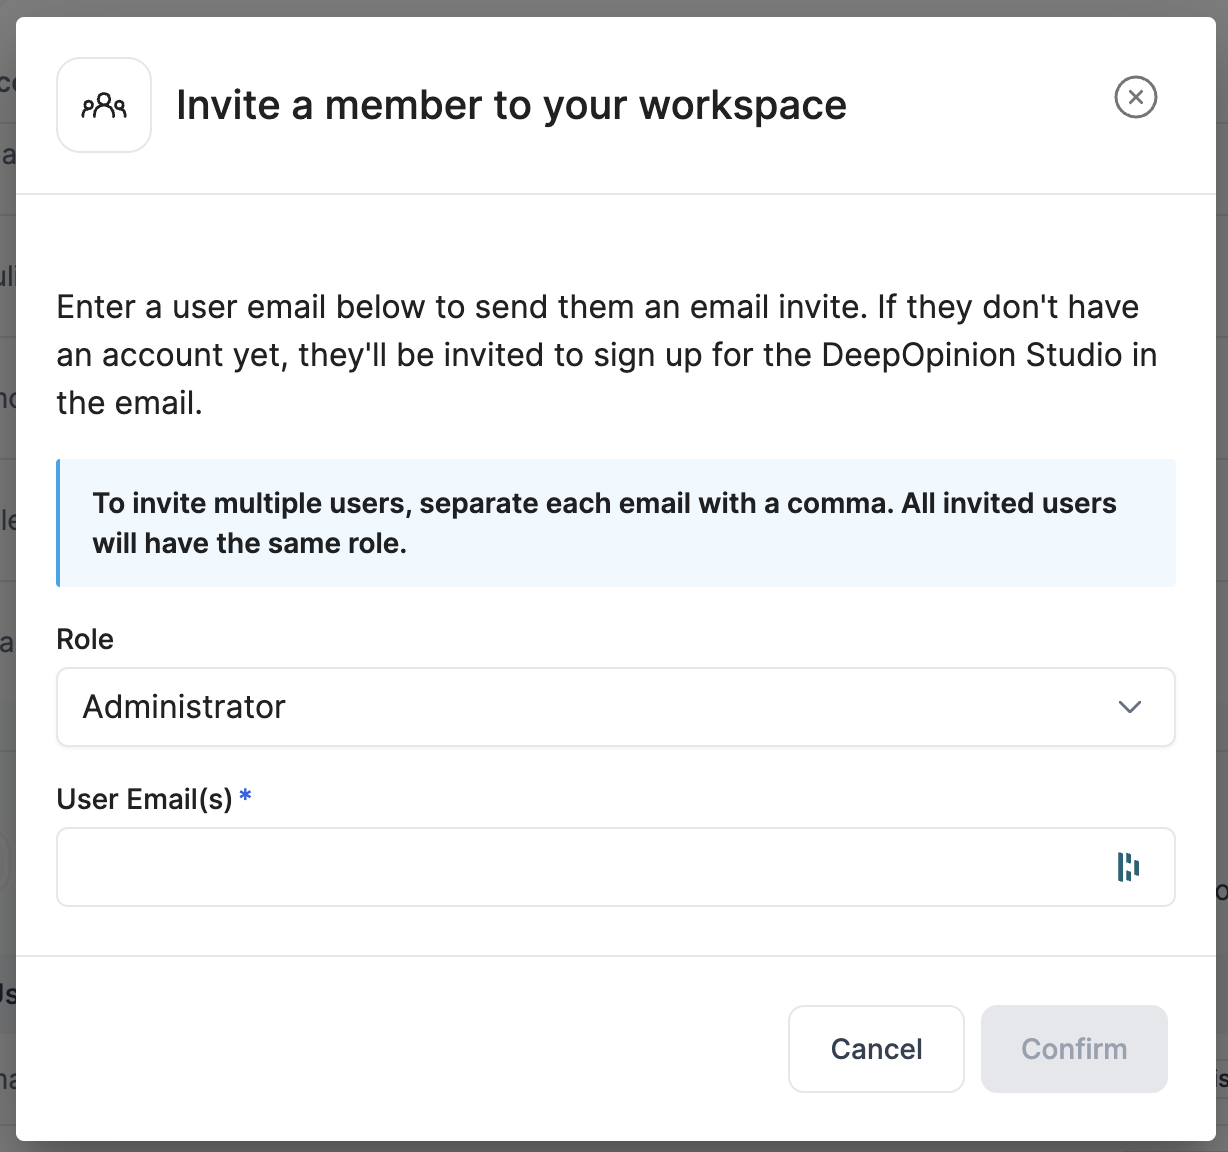
To invite new members to your workspace, go to the Account Hub and navigate to the Workspaces section. Scroll down to the Invited members section and press Invite new member.
A pop-up will appear where you can select the role for your new member and enter one or more email addresses separated by commas. After you confirm, an invitation will be sent.
The invitation will be listed in a table of pending invitations, from which you can resend the invitation or cancel it entirely if needed.

Editing User Roles
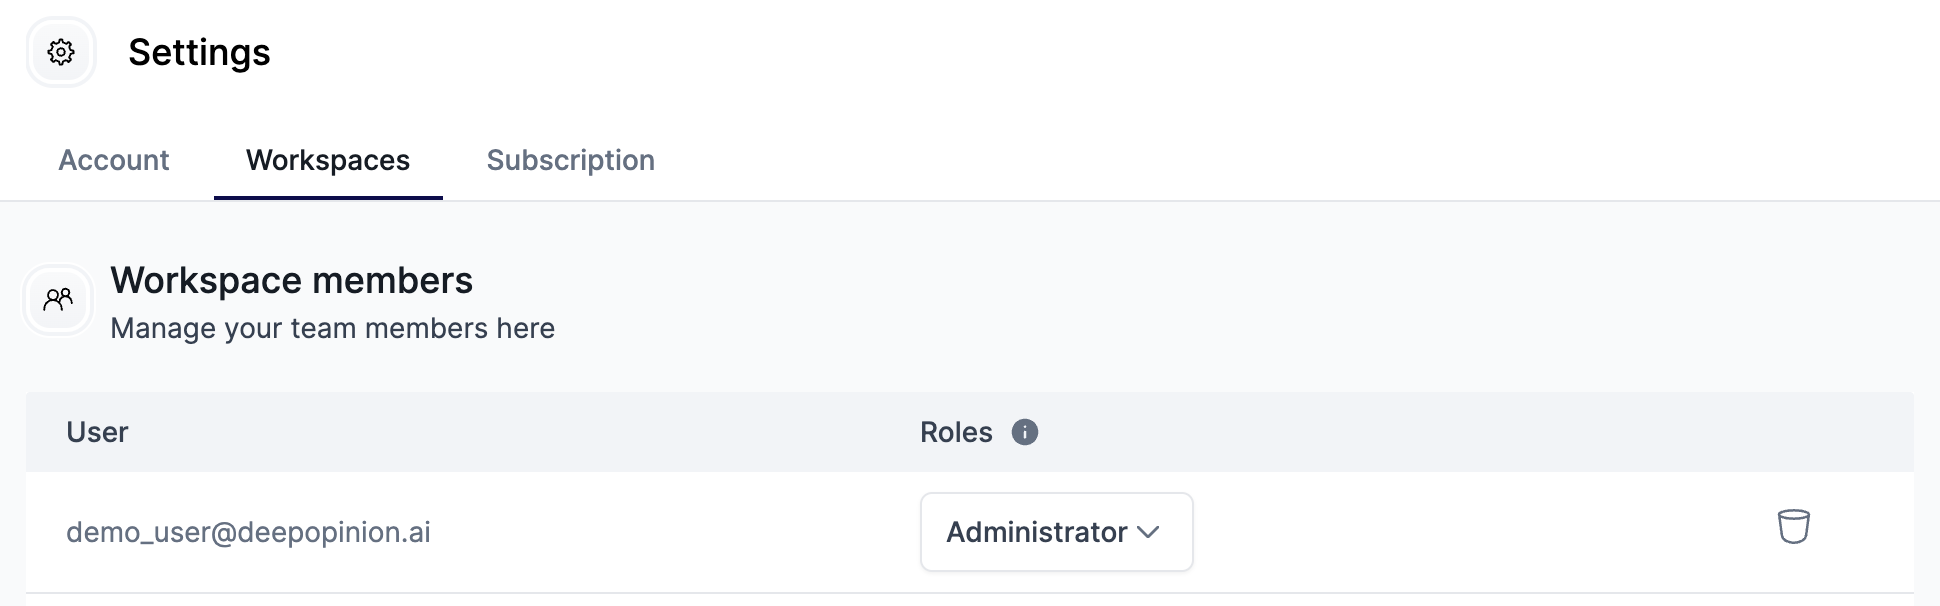
In the Workspace members section, you will see a table with all the current members of the workspace. If you have an Administrator role, you can change the roles of other members directly from this table.
Removing a User
To remove a user from the workspace, go to the Workspace members section. At the end of each user's row, there is a trash can button, press it to remove the user. A confirmation pop-up will appear to ensure you want to proceed.

Leaving a Workspace
You can also leave a workspace yourself from the same table by pressing the button at the end of your user's row. A confirmation pop-up will appear for this action as well.

If you are an Administrator, at least one other user with the Administrator role must be present in the workspace before you can leave.